I have been very slack on the crafting front recently, I haven't sewed in weeks. The fabric I cut out for my shopping tote is still sitting on our kitchen table and my list of projects is getting longer not shorter.
Mostly it is because I have got heavily involved in a wonderful and important local project to save an ancient orchard. It's stimulating and enjoyable, but I still wish there were more hours in the day and I could take on more things, and still do all the other things as well. Don't we all?
Anyway, today I finally have a finish! This is my Bloomin Quilt-As-You-Go cushion....
Observations on making it? Firstly it takes up a lot more fabric than you expect, so be prepared. The blue on the edges of my cushion front were a natural progression, but not part of the original plan. Secondly the quilt-as-you-go method is lovely! Very precise, very neat, very therapeutic, I'll be doing it again. And finally, in retrospect my design turned out a little too square, next time I do it (and I will do it again) I will make sure to use an odd number of strips on each layer to give it a rounder shape.

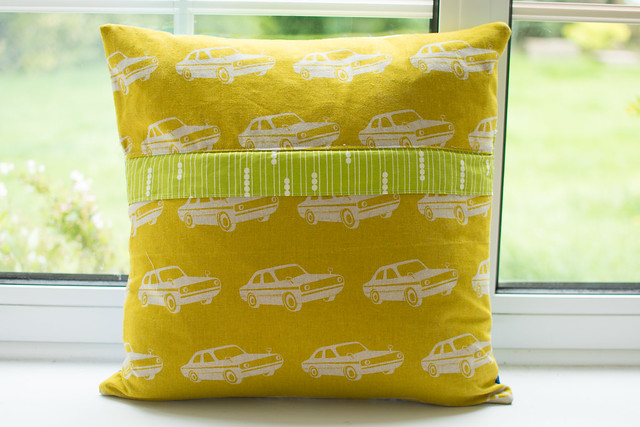
The back is part of my journey to make friends with zips! I love the finish they give, but hate putting them in! I used Chrissie D's tutorial and despite the fact I sewed it with the flap up first time, and had to unpick and resew, the result looks ok... I think zips and I are on the way to being friends! As they say, every day is a school day!
Oh and one other thing. I have after many months of indecisiveness, switched the domain of this blog to maybushstudio.com. Blogger says anyone following on the old blogspot domain should be forwarded, but if you could leave a comment to say you've seen this it would help reassure me!


I love this cushion - even more than the one with the instructions. I am attracted to the gorgeous colours. I suspect that some of us automatically create things in a more linear manner - struggle to be random. I have listed you on bloglovin so I will absolutely stay attached to your blog. It is awesome. Nancy
ReplyDeleteI love how this turned out! Glad my tutorial worked for you :)
ReplyDelete